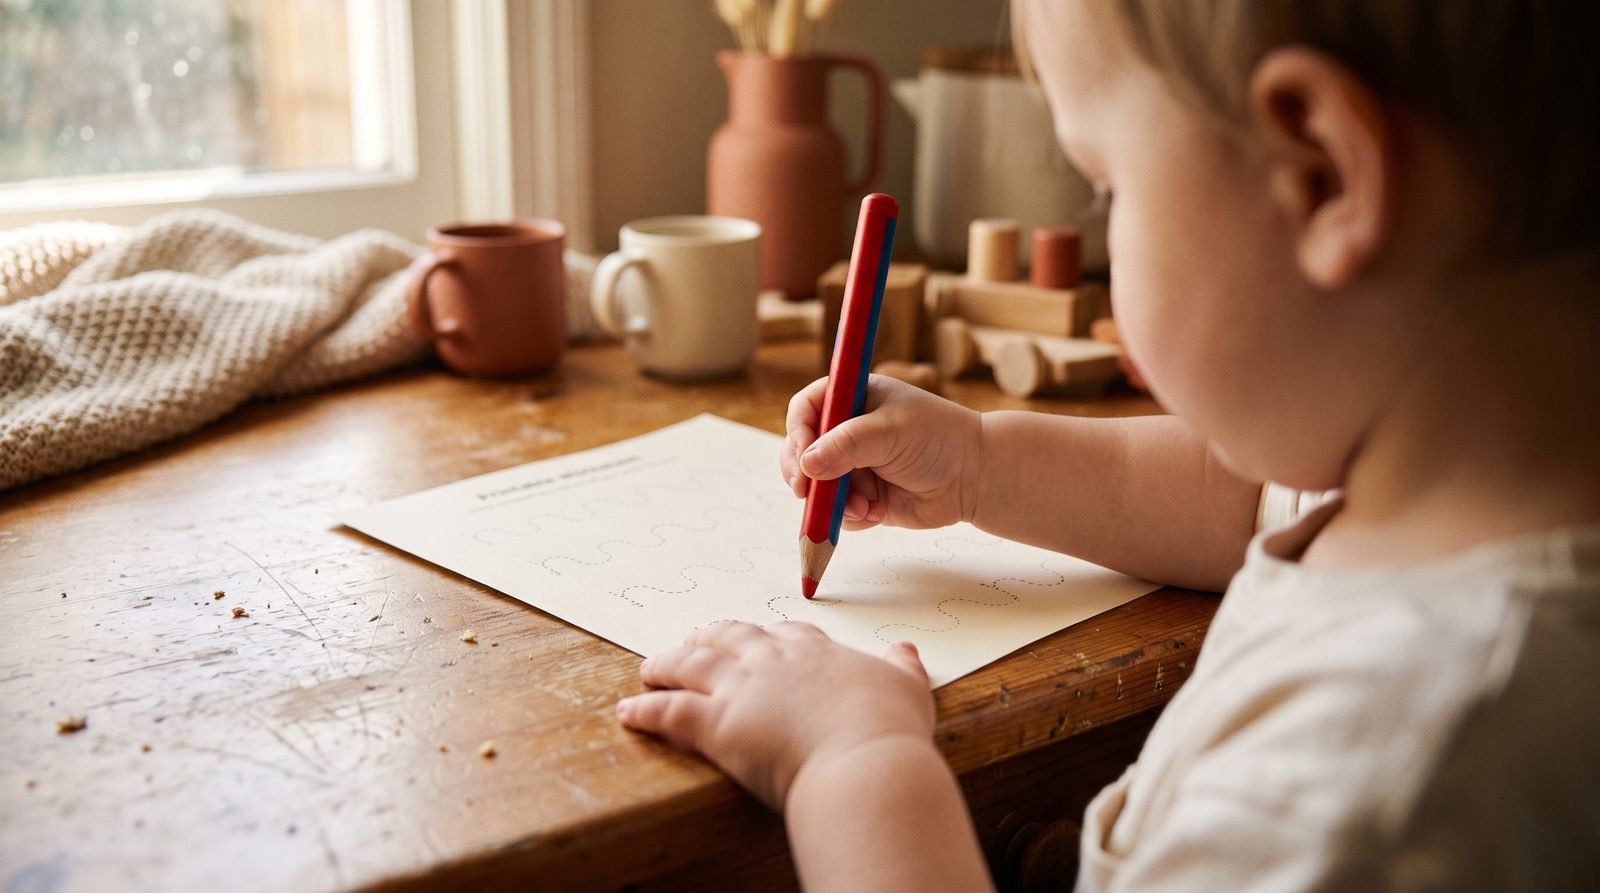
Tracing Worksheets in Order: What Preschoolers Should Trace First
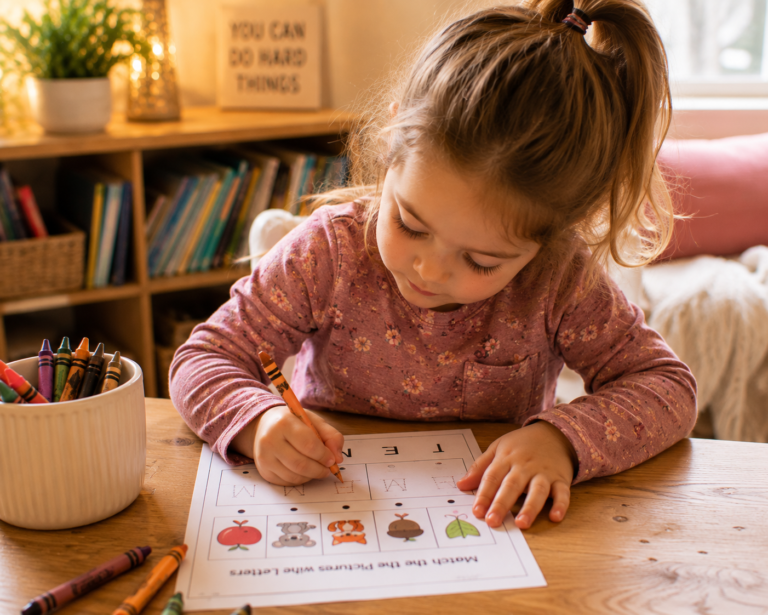
If you’ve ever slid a page of dotted letters in front of your three-year-old and watched the pencil stop dead, you’re not alone. Most of us start tracing with the alphabet because that feels like the “real” goal, and then we quietly wonder why it isn’t clicking. The good news is that there’s a natural order to tracing, and once you follow it, the frustration usually melts away on its own.
This is a gentle roadmap, not a race. Every child moves through these stages at their own pace, and there is no prize for finishing early. My job here is simply to show you what actually comes first, so your little one is always practicing something they can succeed at today.
Why tracing has an order (and why starting with letters backfires)
Letters are, physically, some of the hardest marks a young child can make. A lowercase “a” or “g” packs curves, straight lines, and changes of direction into one tiny space, and it asks the hand to stop and start with real precision. Handing that to a child who hasn’t yet mastered a single straight line is a bit like asking someone to run before they can stand.
Underneath every letter are a handful of simple strokes: down-lines, across-lines, curves, circles, and diagonals. When a child practices those building-block strokes on their own first, letters later feel like familiar pieces snapping together rather than brand-new shapes. If you want the deeper reasoning behind all of this, I’ve written more about why tracing matters before writing, but the short version is this: order protects confidence. A child who traces in the right sequence rarely hits a wall, because each step is only slightly harder than the last.
The sequence I use, and the one most early-childhood teachers lean on, goes like this: straight lines, then curves and circles, then diagonals and zigzags, then simple shapes, and finally letters and numbers. Let’s walk through each stage.
Stage 1 — Straight lines (vertical, then horizontal) for ages 2-3
This is where everyone should begin, and it’s genuinely enough for a two- or three-year-old. Start with vertical lines — top-to-bottom strokes — because pulling a pencil downward is the most natural motion for a developing hand. Think of raindrops falling, a slide going down, or the trunk of a tree.
Once down-lines feel comfortable, move to horizontal lines, left to right. These are a touch harder because the hand has to travel across the body, but they mirror the same left-to-right motion your child will use for reading and writing later, so the practice does double duty.
At this age, keep your expectations soft and your praise specific. A wobbly line that lands somewhere near the dots is a win. Look for:
- A comfortable grip (even a fist-style grip is fine at two or three — refinement comes later)
- Lines that generally travel in the right direction, even if they stray off the guide
- A child who stays interested for a minute or two, not a full page
If you’d like ready-made pages at exactly this level, our simple line-tracing pages for toddlers are built for these first down-and-across strokes, with plenty of white space so nothing feels crowded.
Stage 2 — Curves, circles, and loops
Once straight lines feel easy, curves are the natural next step, usually somewhere around ages three to four. Curves ask the hand to change direction smoothly instead of stopping, which is a real developmental leap. Start with gentle wavy lines (think rolling hills or the top of the ocean), then move toward circles.
Circles deserve a special note, because the direction matters. Encourage tracing circles counter-clockwise, starting at the top — the same motion used to form letters like c, a, o, d, and g. Building that habit now saves a lot of unlearning later. You don’t need to make a big lesson of it; just model it yourself and let them copy.
Loops and spirals are a fun way to keep this stage playful. Tracing a snail’s shell or a curl of smoke feels like drawing, not “school,” and that’s exactly the mood you want. If your child grips the pencil hard or their circles come out as sharp-cornered shapes, that’s simply a sign to stay at this stage a little longer. There’s no rush.
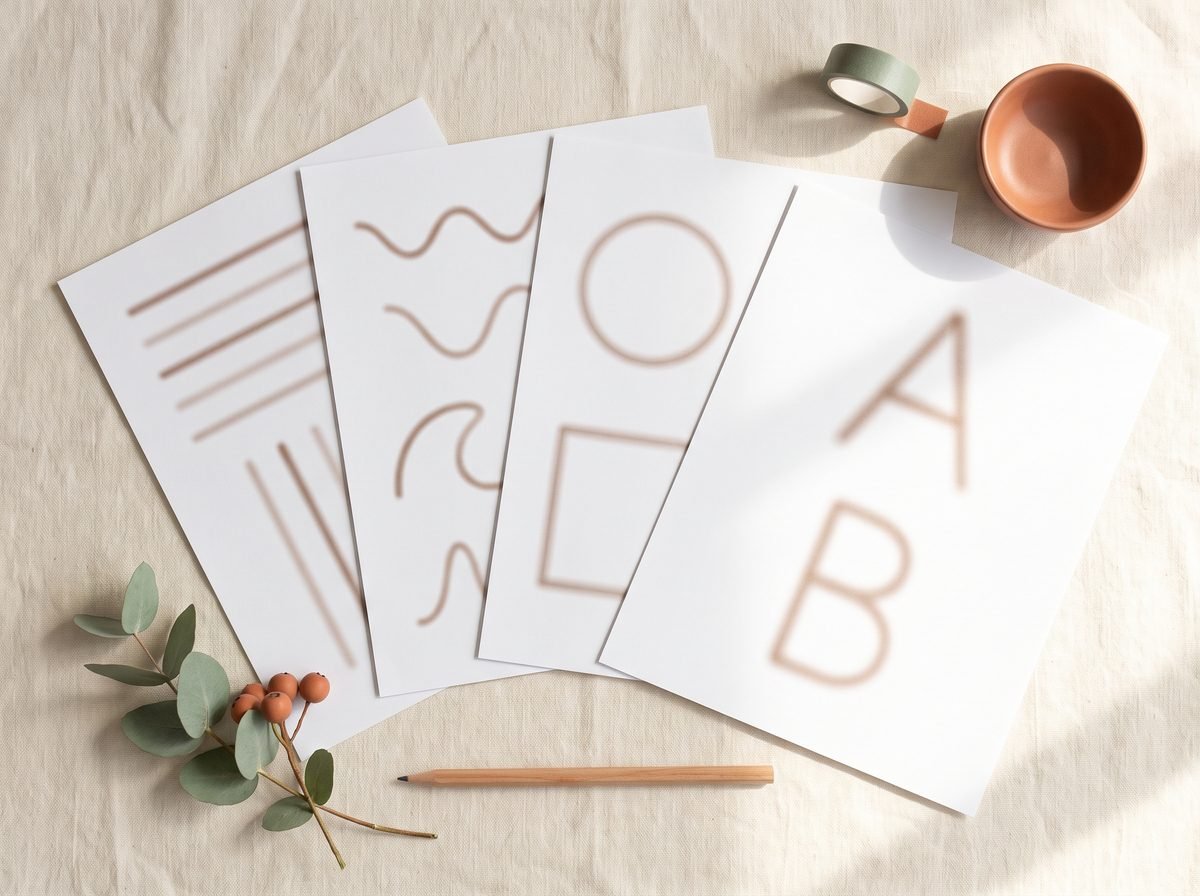
Stage 3 — Diagonals and zigzags (the hardest pre-letter strokes)
Here’s the stage most tracing books skip, and it’s often the missing piece when a slightly older child seems “stuck.” Diagonal lines — slanted strokes running corner to corner — are surprisingly demanding. They require the hand and eye to coordinate an angle that isn’t straight up-down or straight across, and many four- and five-year-olds need real practice before diagonals feel natural.
Start with single slanted lines (one leaning right, one leaning left), then combine them into zigzags — the up-down-up-down of a mountain range or a lightning bolt. Zigzags add the extra challenge of changing direction sharply at each point without lifting the pencil.
Why does this matter so much? Because diagonals are the backbone of letters like A, K, M, N, V, W, X, and z. A child who can trace a clean zigzag is quietly rehearsing half the capital alphabet. If diagonals are tricky at first, that’s completely typical — this is the hardest of the pre-letter strokes, and it’s the one most worth slowing down for.
Stage 4 — Simple shapes as the bridge to letters
Shapes are where all those individual strokes come together into something whole, which makes them the perfect bridge to letters. Follow a difficulty order here, too:
- Circle — one continuous curve, already familiar from Stage 2
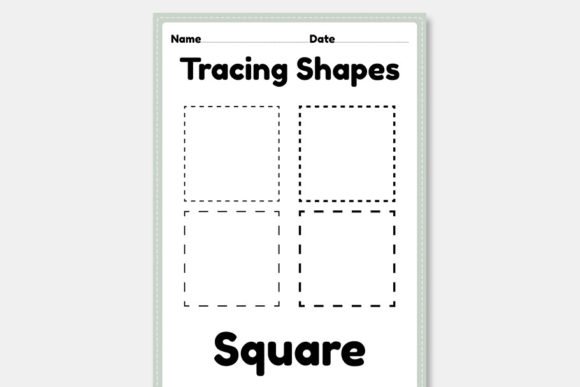
- Square — four straight lines with corners (stopping and turning is the new skill)
- Triangle — adds diagonals and sharp corners
- More complex shapes — rectangles, diamonds, stars, and hearts, once the basics feel easy
A square, when you think about it, is really the letter practice in disguise: it’s the same “start, stop, turn, keep the line straight” control that letters demand. Tracing shapes lets a child rehearse that control in a form that still feels like play. Our shape tracing practice moves through shapes in roughly this order, so each new one builds on the last rather than surprising your child.
Around this stage, many children are also ready for a broader mix of tracing activities, and our general preschool tracing worksheets pull lines, curves, and shapes together for children who are comfortably past those very first strokes.
Stage 5 — Moving on to letters and numbers
By the time a child can trace shapes with reasonable control — often somewhere between ages four and six — letters and numbers finally feel achievable rather than overwhelming. At the stage level, a sensible starting order looks like this:
- Uppercase letters first. Capitals are made mostly of straight lines and simple curves, with fewer fiddly details than lowercase, so they’re kinder to a new writer’s hand.
- Numbers alongside or just after. Numerals reuse the same lines, curves, and diagonals your child has already practiced.
- Lowercase letters last. These carry the trickiest curves and the small ascenders and descenders (the tails on p, g, and y), so they’re the natural finale.
I’ll keep this stage brief on purpose. The full letter-by-letter formation order — which letters to teach before others, and why — is its own topic, and it deserves a dedicated piece rather than a rushed paragraph here. For now, simply knowing that uppercase comes before lowercase, and that both come after lines, curves, diagonals, and shapes, will keep you on solid ground.
How to know when to move up a stage
You don’t need a test or a checklist to know when it’s time. Watch for a handful of gentle signals:
- Your child completes the current strokes without much wobble and without frustration
- They stay reasonably inside the guide lines most of the time
- The activity has started to feel easy, even a little boring, to them
- They’re finishing a page happily rather than giving up partway
Boredom is actually your best cue. When a stage feels too easy, that’s your child telling you they’re ready for a slightly bigger challenge. And if a new stage brings tears or a thrown pencil? That’s not failure — it’s simply information. Drop back one stage, rebuild confidence for a week or two, and try again. Moving backward briefly is a normal, healthy part of the process, not a setback.
A gentle week-by-week starting point (no pressure)
If you’d like a loose rhythm to begin with, here’s one that keeps sessions short and pressure-free. Treat these as flexible suggestions, not deadlines — a “week” might take your child three days or three weeks, and both are perfectly fine.
- Week 1: Vertical straight lines, a couple of minutes a day
- Week 2: Horizontal lines, then mix horizontal and vertical
- Week 3: Gentle curves and wavy lines
- Week 4: Circles, traced from the top going counter-clockwise
- Week 5: Single diagonals, then simple zigzags
- Week 6: First simple shapes — circle, then square
Keep each session to just a few minutes. For toddlers and young preschoolers, two or three minutes of happy tracing beats fifteen minutes of struggle every single time. Stop while they’re still enjoying it, and they’ll come back willingly tomorrow. That willingness is worth more than any finished worksheet.
Above all, remember that this order is here to serve your child, not to box them in. Follow their lead, celebrate the wobbly lines as warmly as the neat ones, and trust that letters will come when the hand is ready for them. You’re giving them the steadiest possible start — one small, confident stroke at a time.