From Tracing to Writing: How to Know Your Child Is Ready for the Next Step
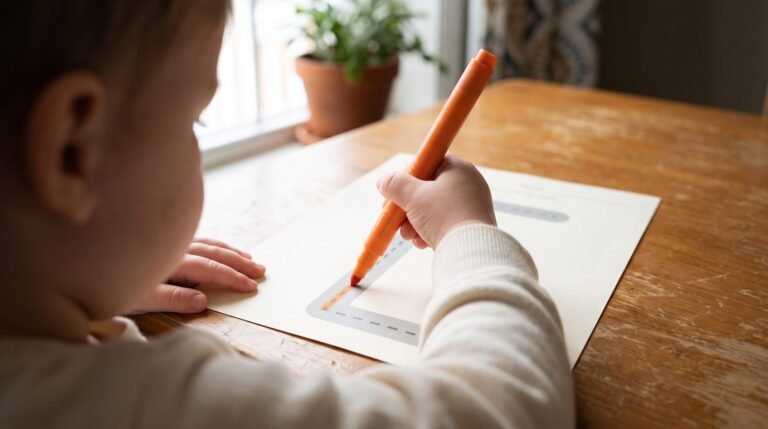
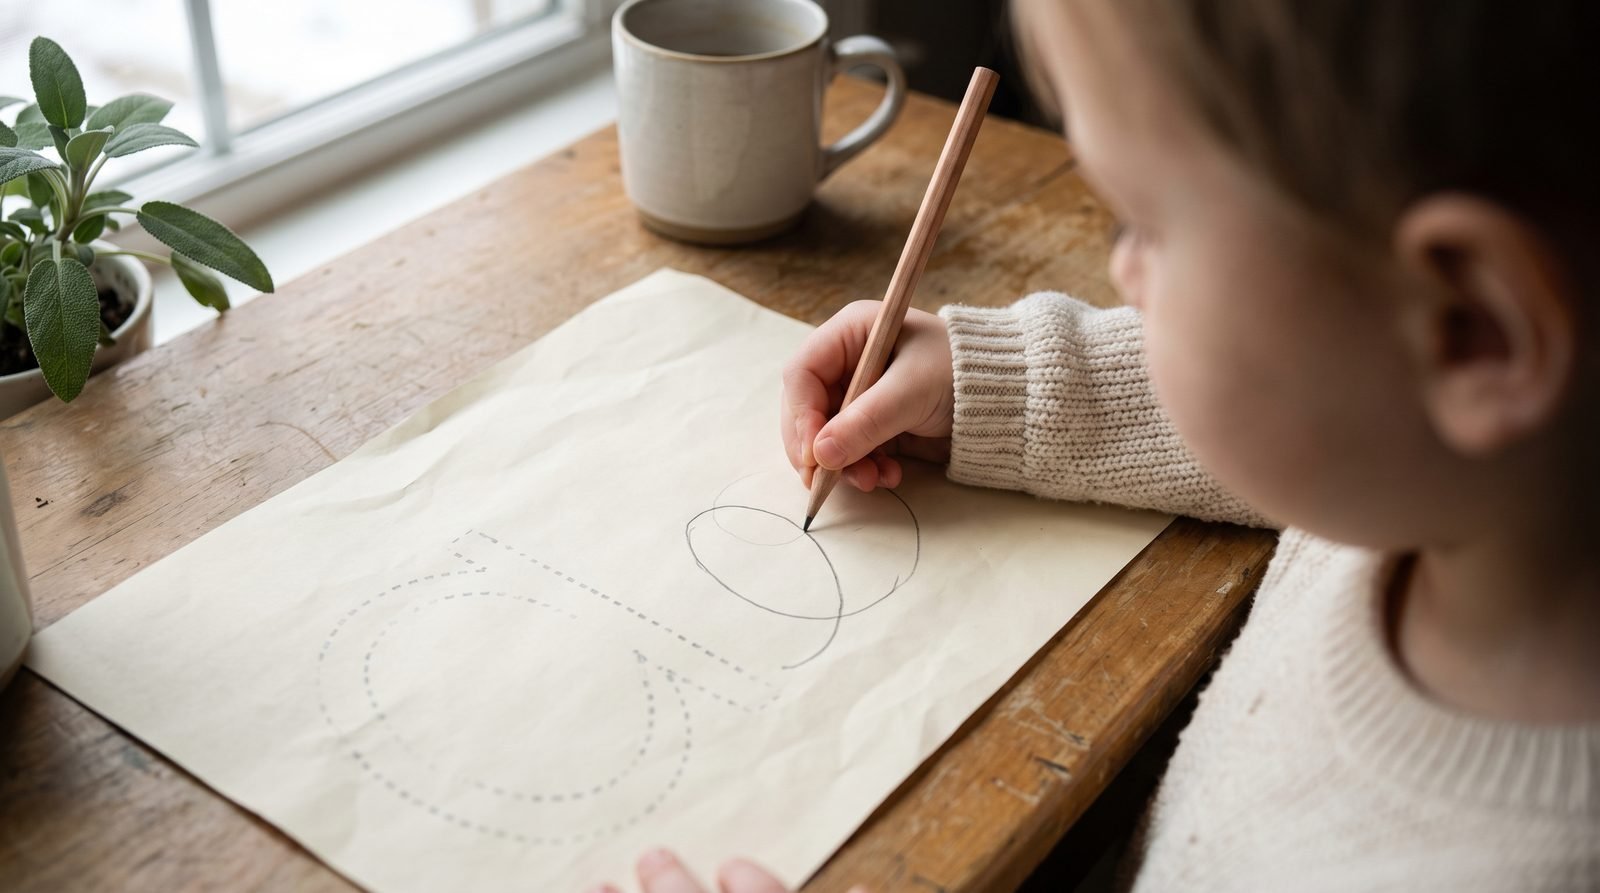
There’s a small, quiet moment a lot of us miss the first time it happens: your child finishes tracing a letter, then flips the page over and tries to make that same letter on the blank side, all on their own. No dotted lines, no arrows. Just a wobbly, lopsided attempt that they’re clearly proud of. If you’ve seen that little spark of “let me try it myself,” you’re standing right at the edge of a big transition, and this article is about how to walk through it gently.
Moving from tracing to independent writing isn’t a single leap. It’s a slow fade, and the timing is different for every child. Below I’ll walk you through the signs that your child is ready to write with less tracing, how to ease off the guides step by step, and why those first messy letters are exactly what success is supposed to look like.
Tracing is a stepping stone, not the destination
Tracing does a lot of important work. It teaches the shape of each letter, the direction the pencil travels, and where to start and stop, all while your child’s hand is fully supported by the printed guide. If you want the full picture of that groundwork, I wrote more about why tracing matters before writing. But tracing was never meant to be the finish line.
Think of it like the training wheels on a bike. They’re essential at first, and there’s no rush to remove them. But at some point, the wheels stop teaching balance and start doing the balancing for the child. The same is true here: once a child can trace neatly and confidently, the guide is doing the remembering for them. The goal is for their own hand and memory to take over. Recognizing when to fade the guides is one of the most helpful things you can do, and it usually happens somewhere between ages four and six, though plenty of children arrive earlier or later.
Signs your child is ready to write with less tracing
You don’t need a checklist or a test. You need to watch how your child traces, because their readiness shows up in the small details. Here are the signs I look for:
- They trace smoothly and confidently. The line follows the guide without lots of stopping, restarting, or heavy pressing. Tracing feels easy for them, almost boring.
- They start letters in the right place. They begin a letter at the top or the correct starting point without needing an arrow to remind them.
- They “float” ahead of the dots. You’ll notice their pencil sometimes runs a little ahead of the guide, like they already know where the line is going. This is a big one.
- They try letters freehand on their own. On the back of a page, in the margins, or on a foggy window. Unprompted attempts are the clearest signal.
- They recognize and name the letters they’re forming. Connecting the shape to a sound or a name means the letter has real meaning, not just a shape to copy.
You don’t need every single sign. Two or three showing up consistently is plenty. If you’re also wondering about the earlier, foundational readiness for handwriting in general, take a look at the signs your child is ready for handwriting, which covers the physical and developmental groundwork that comes even before this stage. It’s also worth noticing whether the hand itself is comfortable at the pencil, since a relaxed, workable grip makes freehand letters far easier; if that’s a question mark for you, my notes on how to improve pencil grip in young children walk through simple ways to help.
Fading the guides: dotted lines to faint lines to blank
The kindest way to make this transition is to fade the support gradually, not remove it all at once. I think of it as a ladder with a few gentle rungs.
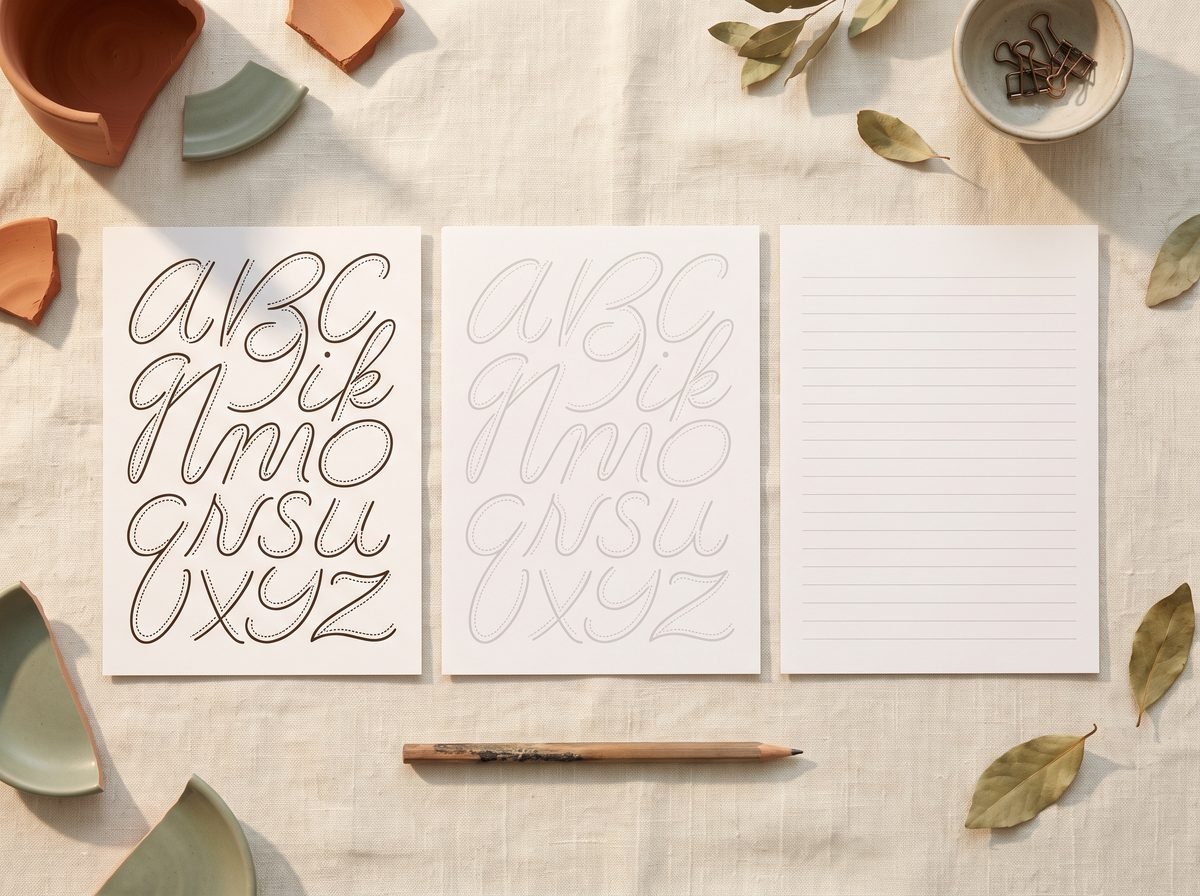
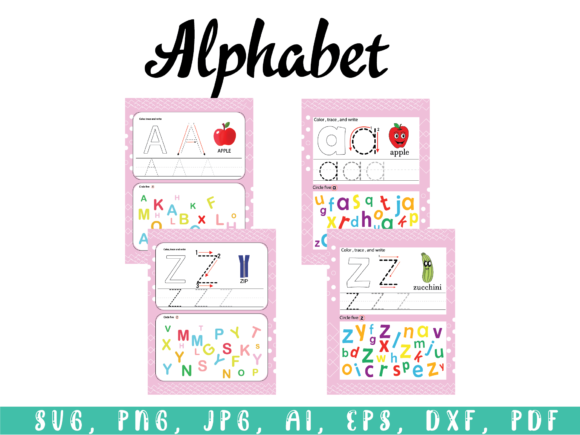
- Bold dotted guides. The full, easy-to-follow dotted letter. This is where most children start.
- Faint or gray guides. The same letter, but printed lighter. The child can still see the shape, but their eyes and hand have to work a little harder to follow it. This is the most important middle rung, and I’d linger here.
- Start dots only. Just a single dot showing where the letter begins, and maybe a faint directional arrow. The child forms the rest from memory.
- Blank lines. A baseline and a top line to keep the size consistent, but no letter guide at all. This is independent writing with just a little structure.
Move down one rung at a time, and only when the current step feels comfortable. If your child breezes through faint guides, try start-dots. If start-dots go well most days, offer a blank line. There’s no schedule here. Some children spend a week on a rung; others spend two months. Keep the earlier rungs playful rather than test-like: turn a faint guide into a “trace the ghost letter” game, or let your child pick which letter to try next. When fading feels like play, confidence keeps building instead of leaking away.
Copying vs. tracing vs. independent writing
It helps to name the three different things a child can be doing, because they’re not the same skill and they don’t come in a strict order.
- Tracing means following a printed line. The shape is already there; the child just travels along it.
- Copying means looking at a model letter nearby, often at the top of the row, and reproducing it on a blank space. The child has to hold the shape in their eyes and transfer it. This is a real jump from tracing, and it’s a wonderful in-between step.
- Independent writing means forming the letter from memory, with no model to look at. This is the destination.
If your child finds blank lines intimidating, back up to copying. Put a clear model letter at the start of the line and let them reproduce it beside the model. Copying carries a lot of the confidence of tracing while quietly building the memory that independent writing needs. Many children live happily in the copying stage for quite a while, and that’s completely fine.
What realistic “first writing” looks like (it’s messy)
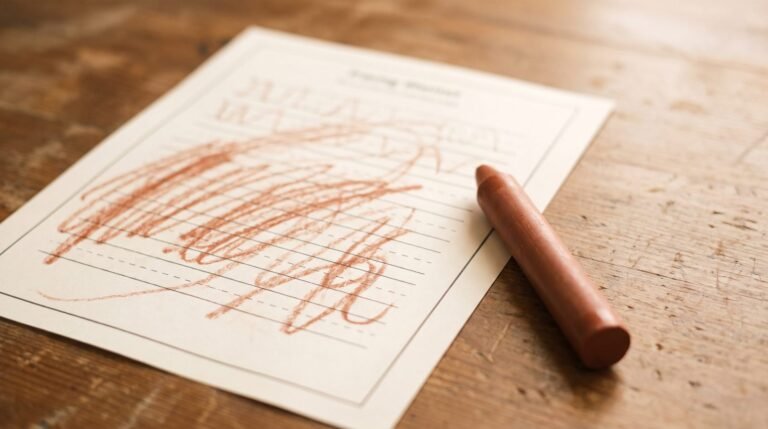
I want to be honest with you about this part, because it surprises a lot of parents. First independent writing is messy. Genuinely, wonderfully messy. Here’s what’s normal and not worth worrying about:
- Letters that drift above or below the line, or float in the middle of the page.
- Wildly different sizes, a giant “B” next to a tiny “a.”
- Backwards and flipped letters. Reversed b, d, s, and numbers like 3 and 7 are extremely common up through age six or seven and usually sort themselves out.
- Shaky, uneven lines and letters that lean.
- Missing pieces, like an “R” with no leg or an “E” with two lines instead of three.
None of this means the tracing “didn’t work” or that you moved on too soon. This is what the brain and hand look like while they learn to work together without a guide. The neatness comes back over the following months, and it comes back stronger because the child built it themselves. Give that messy stage a friendly, low-pressure place to keep growing, and treat every unprompted attempt as a win rather than a rough draft to correct.
Keeping confidence high during the wobbly stage
The transition works best when your child feels safe to make imperfect letters. A few things I lean on, over and over:
- Praise the effort and the attempt, not the neatness. “You made that whole letter by yourself!” lands far better than “Let’s fix that one.”
- Resist the eraser. Constant correcting teaches a child that their writing isn’t good enough. Let the wobbly letters stand.
- Keep sessions short. Five to ten minutes is plenty at this age. Stop while they’re still enjoying it, not after they’ve melted down.
- Let them write things that matter to them. Their own name, a sibling’s name, “MOM,” a label for a drawing. Meaning fuels motivation like nothing else.
- Sit beside them, not over them. Your calm presence does more than any correction.
When to ease off and let them try alone
Ease off the guides when tracing has clearly become too easy, when you see those unprompted freehand attempts, and when your child seems more interested in what they’re writing than in how perfectly they’re staying on the line. A good gentle nudge is to simply offer a blank space and say, “Want to try this one on your own? I’d love to see how you do it.” Then step back and let it be theirs. If they light up, you’ve found the moment. Follow their lead rather than a calendar.
Common signs to slow back down
Sometimes the answer is to give the guides back for a while, and that’s not a setback, it’s responsive teaching. Slow down if you notice:
- Frustration or tears when the dotted lines disappear.
- Refusing to write or suddenly avoiding an activity they used to enjoy.
- Pressing so hard the pencil tears the paper, or gripping with white knuckles.
- Saying “I can’t” before they’ve even tried.
If any of these show up, quietly step back one rung. Return to faint guides or copying for a week or two, then try fading again. There’s no cost to going back, and there’s a real cost to pushing through frustration. Confidence is the thing you’re protecting above all else.
The move from tracing to writing isn’t a race, and there’s no medal for getting there first. It’s a slow, wobbly, wonderful handoff, from the printed guide to your child’s own hand. Follow the signs, fade the support gently, and let the messy first letters be exactly what they are: proof that your child is doing it themselves. You’re doing a lovely job just by paying this much attention.