Letter Tracing for Preschoolers: The Right Order to Introduce Letters
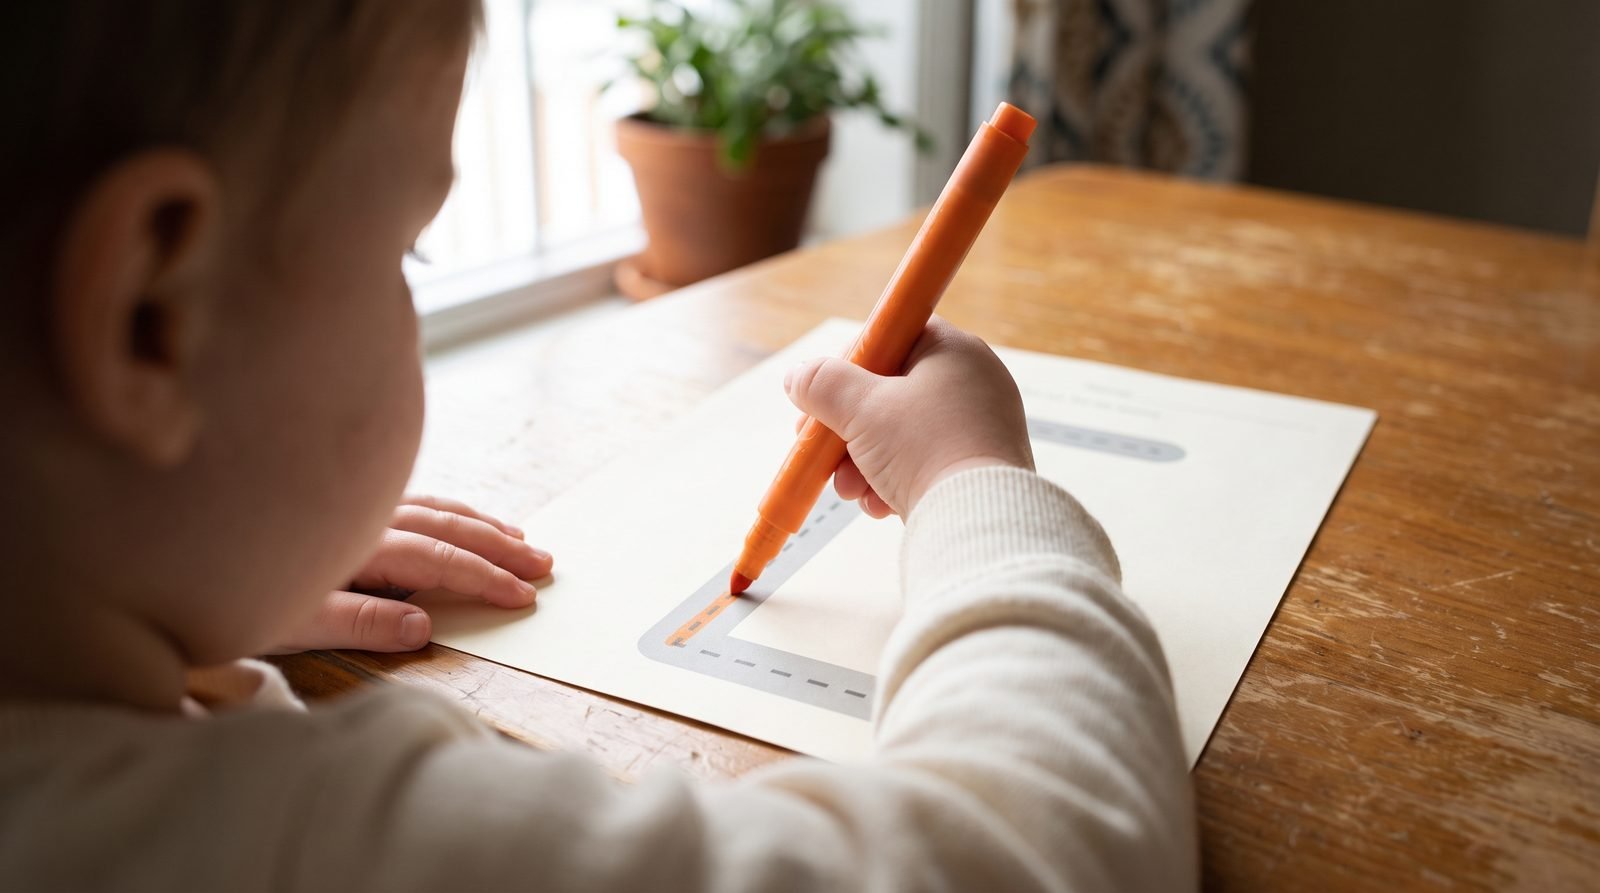
If you’ve ever watched your four-year-old grip a marker, glance at the letter “A” on a tracing page, and then draw something that looks more like a tangled spider, you’re not alone. Most of us grew up assuming letters get taught in order — A, B, C, all the way to Z — and so that’s how we hand them to our own kids. But the alphabet song and the order in which little hands can comfortably form letters are two very different things, and mixing them up is one of the most common reasons early tracing feels frustrating for everyone.
Here’s the reassuring news: there’s a gentler, smarter order, and once you see the logic behind it, the whole thing gets easier. Let me walk you through it the way I would with a parent in my classroom.
Why alphabetical order makes letter tracing harder
Alphabetical order is a memory tool, not a motor-skill sequence. It was designed so we could look things up and sing catchy songs — not so a preschooler’s developing hand could master shapes in a sensible progression. When you start at “A” and march forward, you’re asking your child to form some of the hardest letters right out of the gate.
Think about it. “A” requires two diagonal lines meeting at a point plus a horizontal crossbar — diagonals are genuinely tricky for young children, who master vertical and horizontal lines long before slanted ones. “B” mixes a straight line with two curves. By the time a child hits these early “hard” letters and struggles, they’ve often already decided that writing is something they’re bad at. That’s the outcome we most want to avoid at ages 3 to 5, when confidence matters far more than accuracy.
There’s also no meaning in the alphabetical sequence for a child. The letters most useful to them — the ones in their own name — are scattered randomly across the alphabet. A far kinder approach is to lead with letters that are easy to form and personally meaningful, then build from there. If you’d like the bigger picture of the developmental side, I’ve written more about how preschoolers actually learn the alphabet.
Start with the easiest-to-form letters (and what makes a letter “easy”)
Before we talk order, it helps to know what actually makes a letter easy or hard for a small hand. An “easy” letter is built from the strokes children develop first, and it has as few of them as possible.
Children generally master pencil strokes in a predictable sequence: vertical lines (top to bottom) come first, then horizontal lines (left to right), then circles, and diagonals come last — often not comfortably until age 5 or later. So the easiest letters to form are the ones made of straight vertical and horizontal lines, or a single clean circle.
- Easiest (straight lines only): L, T, I, H, F, E — all built from verticals and horizontals your child likely already draws.
- Next (single curves and circles): O, C, and then letters that combine a line with a curve.
- Hardest (diagonals and combinations): A, K, M, N, V, W, X, Y, Z — these lean on diagonal strokes that simply aren’t ready yet in many 3- and 4-year-olds.
If your child can already draw a plus sign and a circle, they have the building blocks for a surprising number of letters. That’s why “L” and “T” feel almost effortless while “K” causes meltdowns — it’s not about intelligence or effort, it’s about which muscles and movements are ready.
A sensible order to introduce letters at home
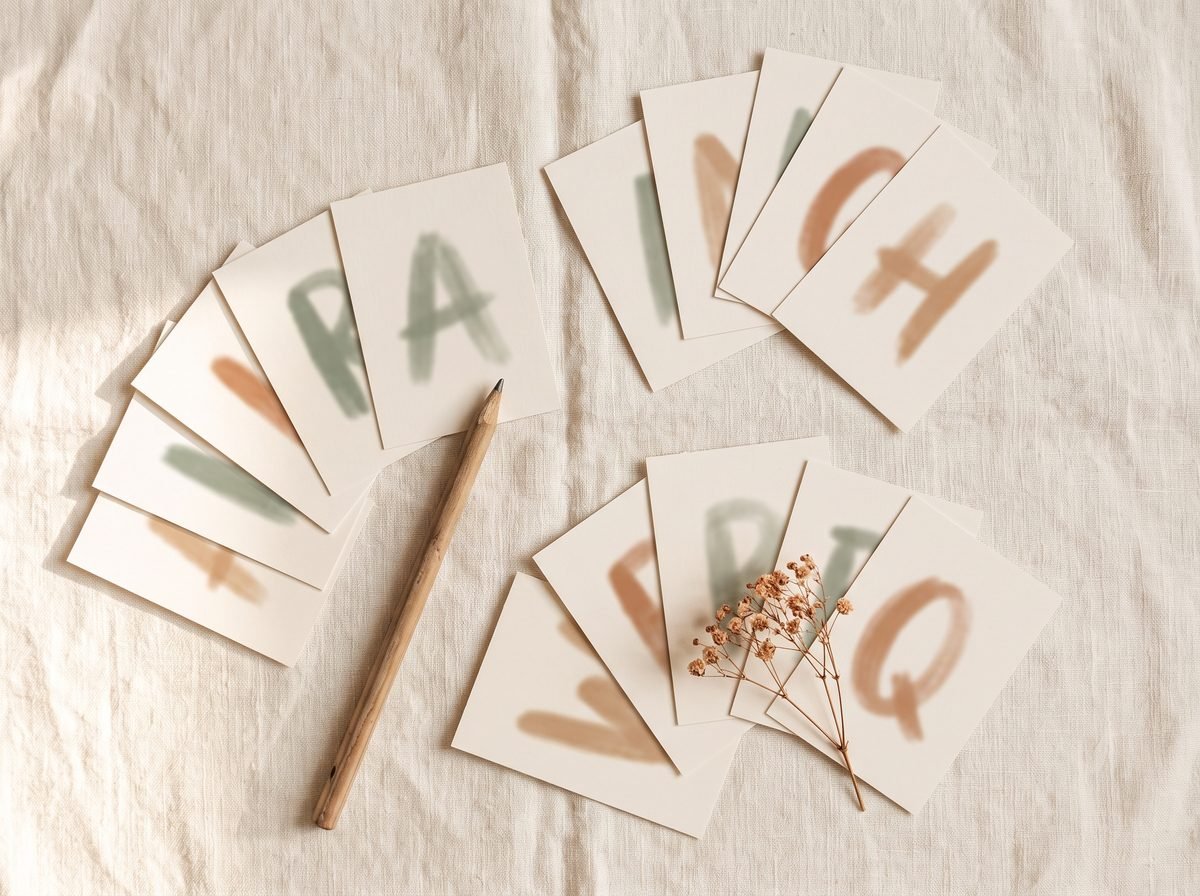
You don’t need a rigid curriculum, but a loose sequence takes the guesswork out of it. Here’s an order I recommend to parents, moving roughly from easiest to hardest formation while front-loading the letters your child cares about most.
- Start with the letters in your child’s name, especially the first letter. Meaning fuels motivation — a child will trace the “M” in “Max” a hundred times because it’s his. If some of those letters are hard to form, that’s okay; you’re tracing together and the personal connection carries them through.
- Move to the straight-line group: L, T, I, H, E, F. Quick wins that build a sense of “I can do this.”
- Add the round letters: O, C, then G and Q as they get comfortable with curves.
- Bring in line-plus-curve letters: D, P, B, R, J, U.
- Finish with the diagonal-heavy letters: A, K, M, N, V, W, X, Y, Z — usually the last group, often closer to age 5.
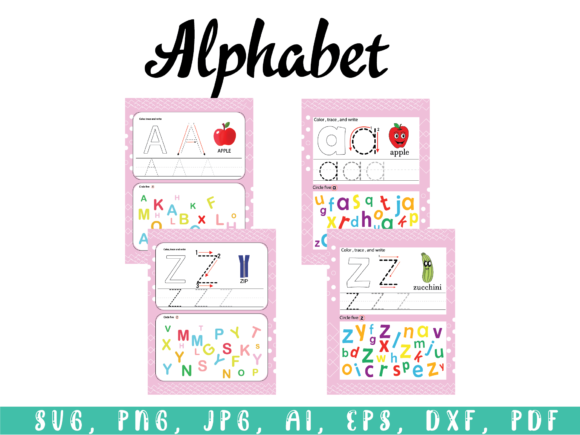
Introduce just one or two new letters at a time and let them settle before adding more. A child who genuinely owns six letters is far better off than one rushed messily through twenty-six. For ready-made pages that follow this kind of gentle progression, our alphabet letter practice printables let you pull whichever letter you’re working on rather than plowing through the alphabet in order.
Uppercase before lowercase — and why
When you’re choosing which version of a letter to trace first, start with uppercase (capital) letters. This surprises some parents, because so much of what we read is lowercase — but for a preschooler’s hand, capitals are simply easier.
Uppercase letters are almost all built from the same starting point (top of the line) and use big, straightforward strokes: straight lines and full circles. They’re also more visually distinct from one another, which helps a child tell them apart. Lowercase letters, by contrast, are full of subtle differences and half-height curves — the little tail on a “g,” the hump on an “n,” the near-identical bodies of “a” and “o” — and many of them require the pencil to change direction mid-stroke.
Capitals also sit neatly between two lines with no confusing ascenders or descenders dropping below the baseline. All of that makes uppercase the kinder place to build confidence. Once your child forms capitals comfortably and recognizes most of them, lowercase follows more naturally — and by then their fine-motor control has usually caught up to the extra demands. There’s no rush to layer both at once. If you want more calm, structured practice for this stage, our preschool alphabet worksheets are built to move at a child’s pace.
Grouping look-alike and reversal-prone letters carefully
Here’s a subtle but important point: which letters you teach near each other matters. When two similar letters are introduced back-to-back, children blur them together. The classic culprits are the mirror-image lowercase letters — b, d, p, and q — which are essentially the same shape (a stick and a ball) rotated and flipped.
The gentle fix is to separate them in time. Teach “b” and give it plenty of space to become solid before “d” ever appears. If you introduce them together, you’re practically inviting confusion, because the only difference is orientation — and orientation is exactly the thing young brains haven’t locked down yet. The same goes for other look-alikes: p and q, m and n, and the numbers that mirror too.
Handling reversals like b and d gently
First, take a deep breath: reversing letters is completely normal and expected up to about age 7. A preschooler or kindergartner who writes “b” for “d,” or flips their whole name backward, is not showing a problem — they’re doing exactly what a developing brain does before it fully learns that, unlike every other object in the world, letters don’t stay the same when you flip them. A cup is a cup whether it faces left or right; a “b” is not a “d.” That’s a genuinely new idea.
So please don’t correct anxiously or make a big deal of it. Instead, try these low-pressure supports:
- Use a memory anchor. The “bed” trick works beautifully — show that the word “bed” has a “b” and a “d” facing each other like a headboard and footboard, so “b” comes first and “d” comes second, just like in the alphabet.
- Focus on where the ball sits. Say it out loud while tracing: “The line comes down, then the ball goes on the front for d, the back for b.” Verbalizing the motion helps it stick.
- Don’t teach them side by side. Weeks apart, not minutes apart.
- Model without shaming. A calm “Let’s check that one” beats a frustrated “No, that’s backward” every time.
These reversals almost always resolve on their own with time and gentle exposure. Your job is simply to keep it light.
How much letter tracing is actually useful
Tracing is a tool, not the whole toolbox — and more is not better. A few minutes at a time, a few times a week, is plenty for a preschooler. Once a child can trace a letter reasonably well, endless repetition of that same letter stops adding much; the goal is to move them toward forming it from memory and then using it in play.
What actually cements a letter is variety, not volume: tracing it in a printable one day, then drawing it big in the air, forming it from playdough, or spotting it on a cereal box. Ten thoughtful minutes of mixed practice beats forty minutes of grinding the same worksheet until your child resents the marker. And if tracing feels premature — if your child can’t yet hold a crayon comfortably or draw basic lines — it’s worth stepping back to pre-writing shapes first. I go deeper into that groundwork in why tracing matters before writing.
Watch your child, not the clock. The moment tracing stops being pleasant is the moment to stop for the day. Learning that happens with a relaxed, willing child sticks far better than anything squeezed out of a tired, resistant one.
When to slow down and revisit an earlier letter
Progress isn’t a straight line, and it’s completely normal to circle back. Slow down or return to an earlier letter when you notice any of these:
- Your child forms a letter in an awkward or backward way consistently — repeated habits are worth gently reshaping before they set.
- They seem confused between two letters you’ve recently introduced (a sign you moved too fast, or grouped look-alikes too closely).
- Frustration is rising — gripping hard, sighing, refusing. That’s your cue to drop back to a letter they already own and rebuild confidence.
- They’ve clearly forgotten a letter you covered a while ago. Forgetting isn’t failure; it just means that letter needs another friendly pass.
Revisiting isn’t going backward. It’s the natural rhythm of how young children learn — a bit forward, a bit back, gradually solidifying. Some weeks you’ll add new letters; some weeks you’ll just warm up old favorites. Both are progress.
If you take one thing from all this, let it be this: the “right” order isn’t about following a rulebook perfectly. It’s about meeting your child where their hand and brain actually are — starting easy, staying meaningful, spacing out the tricky look-alikes, and keeping the whole thing warm. Do that, and letter tracing stops being a chore and becomes one more small, happy thing you get to do together.