Easy Cutting Activities for Preschoolers Ages 3–5
The first time you hand a preschooler a pair of scissors, one of two things usually happens: they either open and close them furiously without actually cutting anything, or they clamp down so hard the paper crumples rather than cuts. Both are completely normal. Scissor skills are genuinely one of the more complex fine motor tasks young children learn — and like most things at this age, they develop through practice, the right tools, and a progression that starts much simpler than you might expect.
Cutting activities for preschoolers don’t need to be elaborate. Some of the most effective ones require nothing more than scrap paper and a pair of child-safe scissors. If you want something structured and print-ready for focused practice sessions, our cut and paste worksheets are a great way to combine cutting and fine motor practice in one activity. But first — let’s talk about how scissor skills actually develop, and what makes cutting practice work.
Why Cutting Activities for Preschoolers Matter More Than Just Crafts
It’s easy to think of cutting as a craft skill — something children need so they can make paper chains and collages. But child development experts consistently describe scissor skills as one of the most developmentally rich activities a preschooler can practice, for several reasons that go well beyond crafts.
Using scissors requires both hands to work together in different roles simultaneously — one hand opens and closes the scissors, the other holds, guides, and rotates the paper. This bilateral coordination is the same skill used in writing, typing, tying shoelaces, and dozens of daily tasks. Research shows that regular preschool cutting practice also builds hand strength, visual tracking, and the kind of focused, controlled hand movement that directly supports later handwriting.
Scissor Skills Development by Age
| Age | Typical Cutting Milestone | Best Activities |
|---|---|---|
| 2–3 years | Learning to open and close scissors; random snipping | Playdough snipping, paper fringe, supervised free snipping |
| 3–3.5 years | Cutting across a short strip of paper in one snip | Cutting straw pieces, thin paper strips, short straight cuts |
| 3.5–4.5 years | Cutting along a straight line with some accuracy | Straight-line cutting practice, cutting lines printables, paper chains |
| 4.5–5.5 years | Cutting on curves, simple shapes, cutting out pictures | Cut and paste worksheets, curved line cutting, simple shape cutouts |
The Best Cutting Activities for Preschoolers — Ordered by Difficulty
The secret to successful scissor skills practice is progressing gradually. Starting at the right level keeps things achievable and builds confidence alongside skill.
Stage 1: Playdough Snipping (Ages 2.5–3.5)
This is the absolute best starting point — and most parents overlook it entirely. Roll playdough into long snakes, then give your child child-safe scissors and let them snip the snakes into small pieces. Because playdough offers more resistance than paper, it builds scissor strength faster. It also eliminates the challenge of holding paper steady, so the child can focus purely on the open-close motion of the scissors. No mess of paper scraps, and endlessly reusable.
Stage 2: Fringe and Strip Cutting (Ages 3–4)
Once a child can snip reliably, the next step is cutting fringe along the edge of a piece of paper — short snips, one after another, without needing to cut all the way across. This builds the rhythm of repeated snipping that longer cutting lines require. From fringe, progress to cutting narrow strips of paper all the way across — one snip from edge to edge.
Cut drinking straws into pieces using scissors — it’s one of the best early scissor skill activities because straws are easy to hold, cut cleanly, and produce a satisfying snap. Children can cut a whole pile of straw pieces and use them to make bead necklaces or collages afterward, which gives the activity a fun purpose beyond just cutting practice.
Stage 3: Cutting Along Straight Lines (Ages 3.5–4.5)
This is where printed cutting lines activities become really useful. Draw thick straight lines on paper (or print simple cutting practice pages) and have your child cut along them. The line gives a target to follow, which adds the visual tracking challenge of real cutting tasks. Start with widely-spaced thick lines before moving to narrower, more precise paths.
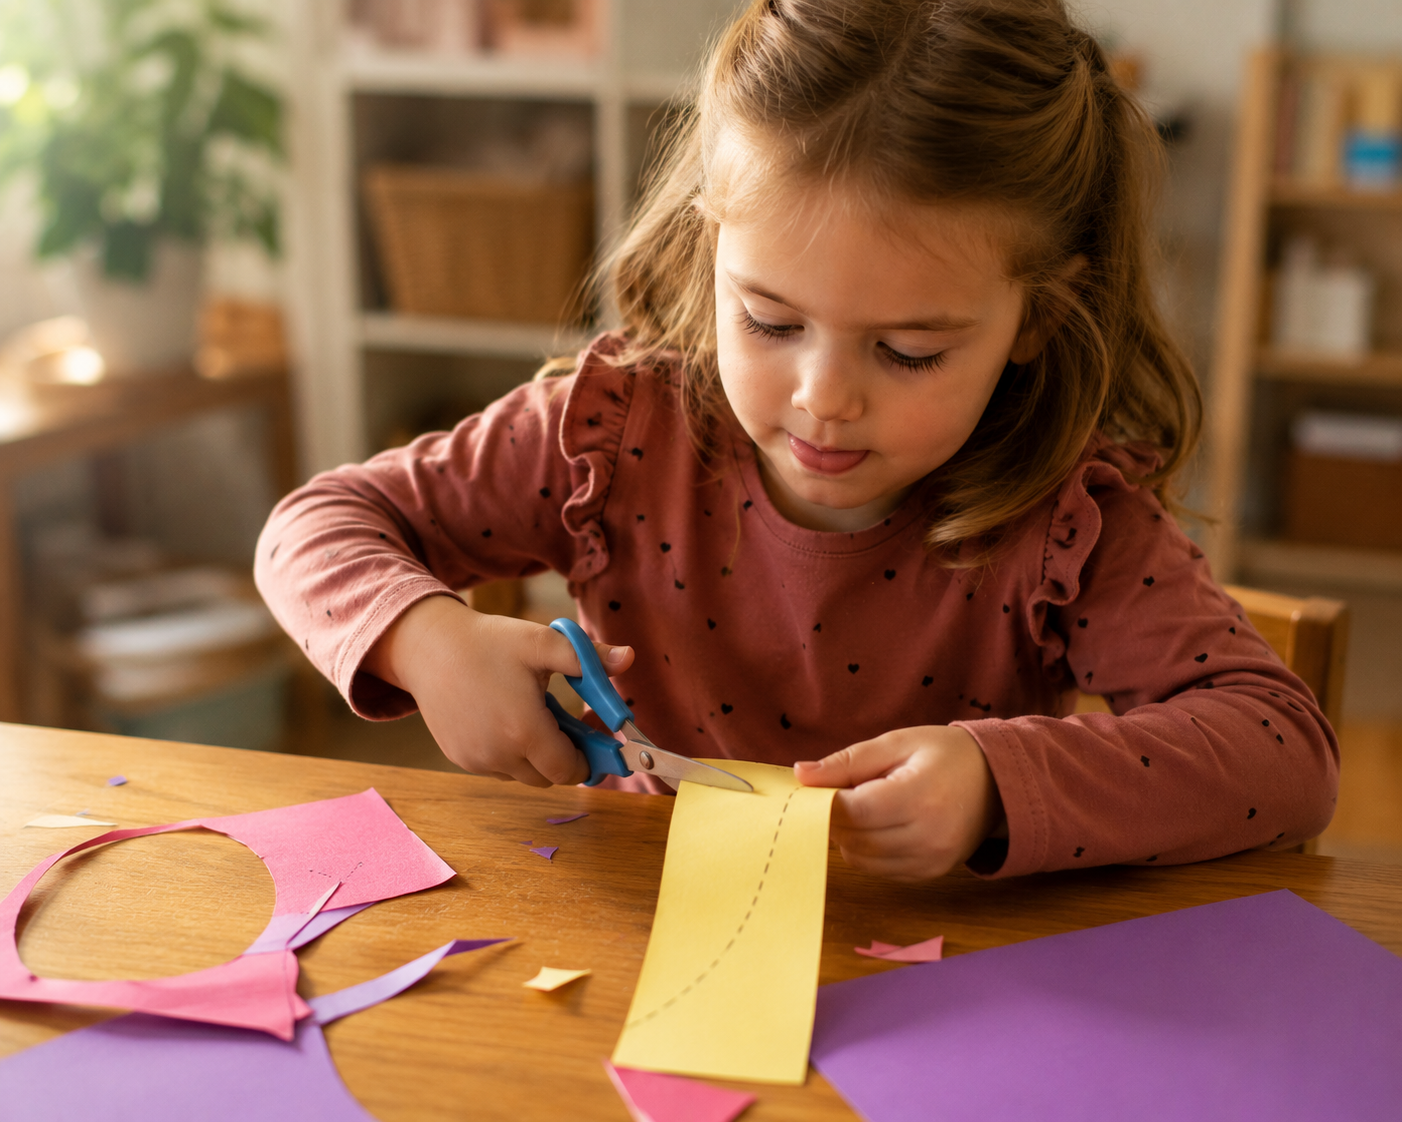
Stage 4: Cutting Curves and Simple Shapes (Ages 4.5–5.5)
Cutting curves requires the child to rotate the paper with their non-dominant hand while continuing to cut — the bilateral coordination challenge that makes this stage significantly harder than straight lines. Start with gentle curves, then progress to wavy lines, then simple rounded shapes. Cutting out a circle is actually a substantial achievement at this stage and worth celebrating.
Stage 5: Cut and Paste Activities (Ages 4–5.5)
Cut and paste worksheets combine cutting with the purposeful task of building something — a collage, a sorted picture, a completed scene. This gives cutting practice real meaning, which keeps motivation high. The act of gluing the pieces also builds additional fine motor precision. Our cut and paste worksheets cover a range of themes and difficulty levels suitable for preschoolers through early kindergarten.

Choosing the Right Scissors for Preschoolers
Tool choice matters enormously for scissor skills. The wrong scissors make everything harder — and frustration kills motivation faster than anything else.
- Spring-loaded scissors are the best choice for beginners (ages 2.5–4). The spring opens the scissors automatically after each snip, so the child only needs to squeeze — not squeeze and release. This halves the motor demand and makes early cutting dramatically more successful.
- Blunt-tip safety scissors are appropriate for all preschool ages. Avoid scissors with very thick blades — they crush paper rather than cutting it cleanly, which is extremely frustrating.
- Left-handed scissors matter — a lot. Regular scissors are designed for right-handed use, and left-handed children using them have to compensate in ways that make cutting much harder. If your child is left-handed, a proper pair of left-handed scissors is one of the most impactful things you can provide.
- Correctly sized scissors — scissors that are too large are hard to control; too small and they don’t cut efficiently. A blade length of about 4–5 inches is appropriate for most preschool hands.
Common Cutting Mistakes and How to Fix Them
These are the most common challenges parents see — and what actually helps:
- Scissors turned sideways. Children often rotate the scissors 90 degrees so the blades point to the side rather than forward. Gently correct: “The pointy end faces away from us, toward the paper.” Practice the position before adding paper.
- Both hands doing the same thing. Some children open and close both hands simultaneously. The paper-holding hand should stay relatively still while rotating — practice holding a strip of paper steady while the scissors do all the moving.
- Cutting in one spot. If a child snips repeatedly without moving forward, they haven’t yet learned to advance the scissors along the line. Practice cutting straw pieces — the short length forces them to snip and re-position, building the movement pattern gradually.
- Refusing to try. If scissors feel too hard, go back to playdough snipping for a few more weeks before returning to paper. Confidence builds on success, not struggle.
A Simple Weekly Cutting Skills Routine
- Start with 5 minutes of playdough snipping (especially for beginners)
- Practice cutting straws or paper strips across in single snips
- Try one straight-line cutting practice page this week
- Do one cut and paste activity for a purposeful finish
- Check scissors: are they spring-loaded? Right size? Left-handed if needed?
- Celebrate progress — even one clean cut across a line is worth noticing
Conclusion
Cutting activities for preschoolers are about so much more than crafts. Every time your child snips a playdough snake, cuts a fringe along a piece of scrap paper, or carefully follows a line on a printed worksheet, they’re building hand strength, bilateral coordination, visual tracking, and the focused control that carries directly into writing and dozens of other daily skills.
It doesn’t have to be perfect. The wobbly cuts, the zigzag lines, the pieces that are definitely not the right shape — all of it counts. All of it is building something real.
Keep it short, keep it positive, keep the playdough close. And one day soon, you’ll hand them a piece of paper and they’ll cut right along that line — clean and confident — and both of you will know they earned it.
Frequently Asked Questions
At what age should preschoolers learn to use scissors?
Most children are ready to begin supervised scissor exploration around age 2.5 to 3, starting with random snipping of playdough or paper strips. Purposeful cutting along lines typically develops between ages 3.5 and 4.5. By age 5, most children can cut along straight lines with reasonable accuracy and are beginning to manage simple curves. As with all motor skills, there’s a wide normal range.
What type of scissors are best for preschoolers just learning to cut?
Spring-loaded safety scissors are the best choice for beginners — the spring automatically reopens the blades, so the child only needs to squeeze. This dramatically reduces the motor demand of early cutting practice. Left-handed children should have proper left-handed scissors, which are not interchangeable with regular scissors. Blunt-tip blades are safest; avoid scissors with very thick blades that crush paper rather than cutting it.
My child can’t cut along a line at all. What should I do?
Go back a step. If straight-line cutting is too hard, spend more time on random snipping — playdough snakes, paper fringe, straw pieces. These build the core hand strength and scissor mechanics before the visual tracking challenge of following a line is added. Progress at the child’s pace rather than by age expectations, and consider spring-loaded scissors if you haven’t tried them yet.
How long should cutting practice sessions be for preschoolers?
Keep early sessions to 5–10 minutes. As hand strength and skill develop, children naturally sustain longer cutting activities (a 4.5-year-old doing a cut and paste project may happily work for 20 minutes). The key is always ending before frustration sets in — a short positive session every few days is far more effective than one long, exhausting one.
Are cut and paste worksheets appropriate for preschoolers?
Yes — for children aged 3.5 and older, cut and paste activities are genuinely valuable. They combine scissor practice with fine motor precision (gluing), visual planning, and a meaningful finished result that motivates continued effort. Choose worksheets with clear, generous cutting lines and pieces large enough to handle comfortably. Simple themes — animals, shapes, seasonal pictures — tend to engage preschoolers most effectively.
My child holds the scissors sideways. How do I correct it?
This is very common in beginners. Practice the correct position without paper first: scissors in hand, pointy end facing away, wrist slightly down. Say “the scissors face the same direction as your knuckles.” Once the position feels familiar, introduce paper. Avoid correcting mid-cut — it splits attention. One reminder before the activity starts is more effective than repeated corrections during it.
Related reading
- Simple Fine Motor Activities for Preschoolers That Build Real Skills
- Why Tracing Activities for Preschoolers Matter Before Writing
- How to Improve Pencil Grip in Young Children
- Printable Activities That Actually Keep Kids Focused